Enable Hyper-V via Intune with PowerShell Scripts
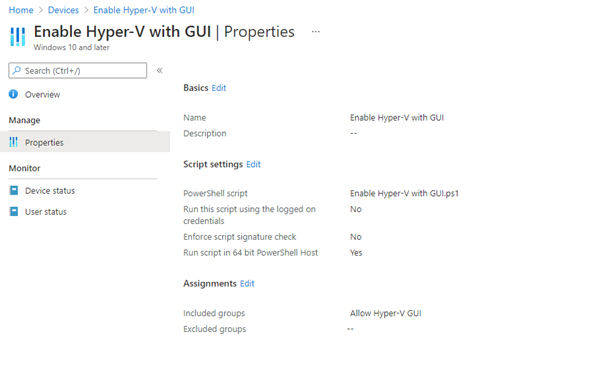
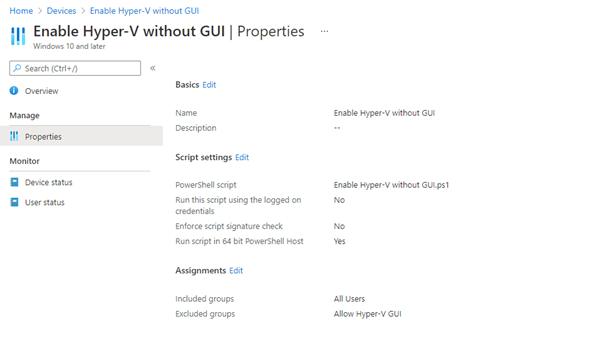
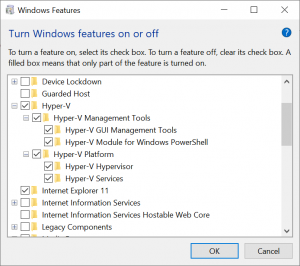
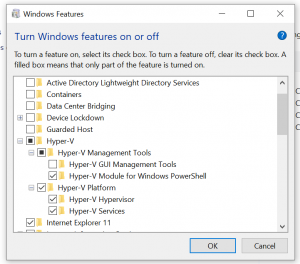
The purpose of the blog post is to inform you how to enable Hyper-V via Intune on Windows 10 or Windows 11. Hyper-V is required for e.g. Windows Defender Credential guard, Application Guard and Application Control. You can enable Hyper-V in various ways, but I’ll explain in this blogpost the PowerShell script method.
Requirements Intune:
Requirements Device:
Note. I use the PowerShell command Enable-WindowsOptionalFeature to enable Hyper-V via Intune. I’ve decided to use the built-in PowerShell script method via Intune. If you want to enable Hyper-V via Intune but you want to use a Remediation scripts, you can use the following blog post.
You can also enable Hyper-V via the DISM Command and/or wrap the PowerShell script in a Win32 app.
My opinion is that the Apps section in Intune should only be used for installing applications and should not be misused for any other purpose.
PowerShell Scripts
PowerShell is commonly used for automating the management of systems. It will also be used to build, test, and deploy solutions, often in CI/CD environments. PowerShell is built on the .NET Common Language Runtime (CLR). All inputs and outputs are .NET objects.
More information about PowerShell can be found here
How to verify Hyper-V Hardware compatibility
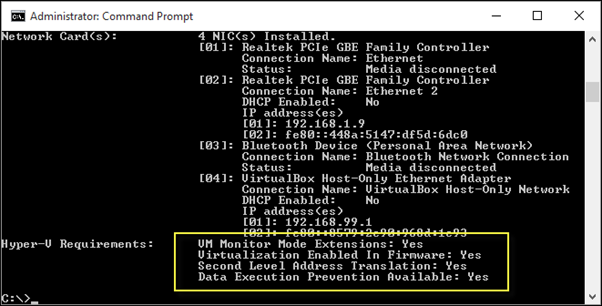
Almost all corporate device models support Hyper-V, especially the modern ones. If you want to be sure if your device supports Hyper-V. Start with checking the operating system and hardware requirements. After checking the requirements you have to check the compatibility. You can use the following CMD or PowerShell command: systeminfo. If all listed Hyper-V requirements have a value of Yes, your system can run the Hyper-V role. If any item returns No, check the requirements and make adjustments where possible.
More information about Hyper-V requirements and compatibility can be found here





 Hi! My name is René Laas. I have passion and enthusiasm for the Microsoft 365 Cloud. I am based in the Netherlands.

Leave a Reply
Want to join the discussion?Feel free to contribute!